This sweet, fragrant spice, once reserved for the rich and royalty, has a fascinating history. Did you know that Vanilla is the fruit of an orchid, Vanilla Planifolia, the only orchid to produce edible fruit?
Where does Vanilla originate?
Vanilla orchids are native to the forests of central America and can only be grown between the tropics of Cancer and Capricorn. The Totonac were the first to cultivate vanilla, which they considered sacred, a symbol of good luck, using it largely as a fragrance. Vanilla vines, with their pale yellow orchid flowers grew naturally in the forests, sometimes climbing as high as 30 to 40 feet up giant trees.

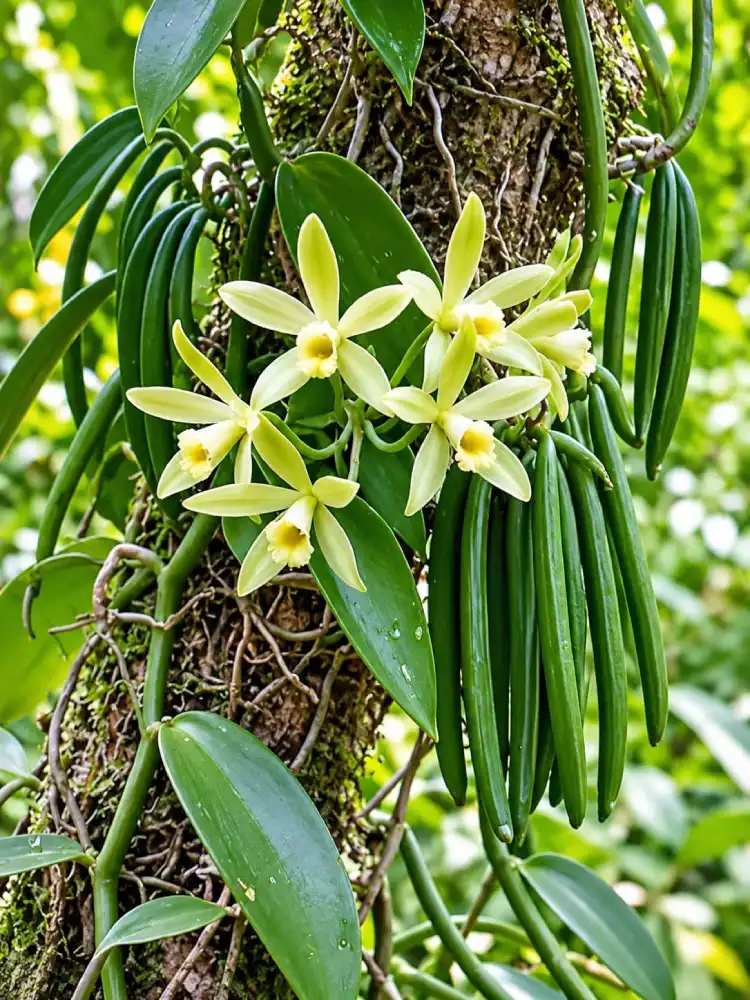
The Aztecs were introduced to Vanilla when they overthrew the Totonac and began to add it to ground cocoa, with a sizeable pinch of chilli and a drop of honey to make a robust hot drink. Vanilla became so sought after, that the Aztecs demanded a tax-like payment from their subjects, in the form of Vanilla which took on the role of a primitive currency.
With the arrival of the Spanish (Hernan Cortes) in 1519, Vanilla was introduced to Europe where demand for this rare, expensive spice soared amongst the wealthy and royalty. Cortes referred to this unique pod as ‘vineya’ (little sheath) and it is from this word that its lasting name was derived.
Why is it so expensive?
Vanilla is the 2nd most expensive spice in the world, after Saffron. Those who tried to grow Vanilla outside of Mexico in the 1600’s and 1700’s were hugely frustrated, although the vines would grow and flower, they absolutely could not get the orchid to fruit, thus producing its sought-after beans. This was because small, stingless bees (of the genus Melipona and Euglossine bees (orchid bees)) – native to central America and South America, are the ONLY natural pollinators of these unique orchids. Botanists and enthusiasts extensive efforts were thwarted, they just could not get artificial pollination of Vanilla Orchids right.
The mystery was solved by a young enslaved 12 year old boy, Edmond Albius, in 1841, who lived on Reunion Island (then called Bourbon). Edmond had learnt to cross pollinate watermelons and pumpkins, and he used this knowledge to tinker with the barren Vanilla Orchids growing all around him. Flowers only open for a few hours, up to a maximum of 1 day, and pollination has to happen in this window. Edward used a twig and his thumb to breach the membrane dividing the male and female parts of the flower, and soon after the very first hand pollinated vanilla beans began to develop. This discovery, resulted in a multi-million dollar industry that thrives to this day. Edmond’s hand pollination technique is still used today, by millions of vanilla farmers all over the world! Sadly, Edmond did not benefit from his great discovery, and died a pauper
So successful was his hand pollination technique, that vines were introduced to Madagascar which surpassed Mexican production and now supplies 80% of natural vanilla available today.
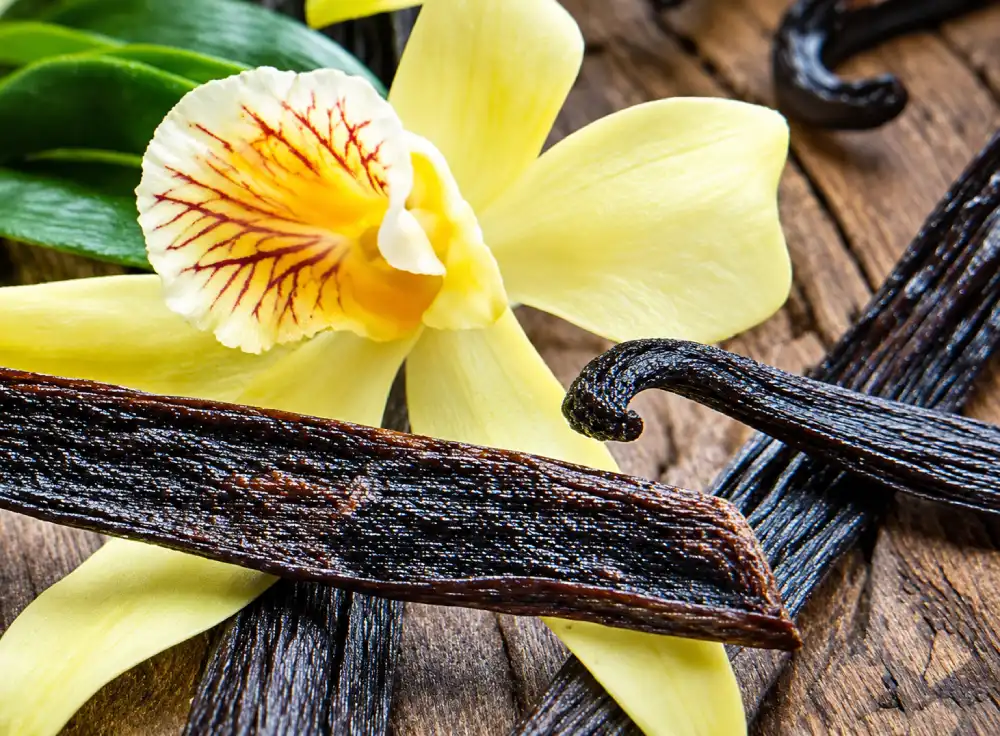
Production of Natural Vanilla
Vanilla pods take 7 – 9 months to mature. The mature pods are picked and then “killed” (blanched) in boiling water. They are then packed into dark boxes to sweat for 24 to 48 hours, after which they are laid out on mats daily to airdry. This drying and curing process takes 6 – 9 months of daily unpacking and laying out the pods in the morning, and repacking them overnight to prevent spoilage and theft.
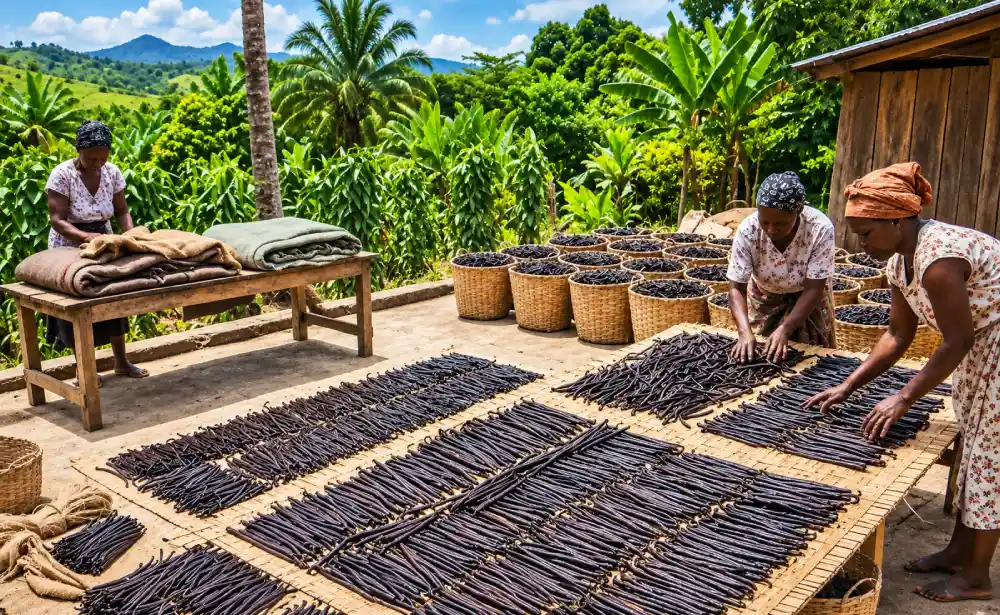
6 – 8kg of green beans renders about 1kg of dried pods.
Natural Vanilla vs Synthetic Vanilla
Natural vanilla contains over 250 distinct aromatic compounds, with the primary one being Vanillin.
In the mid 1800’s German Scientist, realising the value of vanilla, figured out how to isolate Vanillin and synthetically produce it from coniferin, a substance found in pine bark. They filed a patent for their discovery, founded a factory and began producing the first synthetic aroma chemical in history. Their ‘vanilla’ was vastly cheaper to produce than natural vanilla, and they could guarantee an assured monthly quantity.
Synthetic vanilla was later derived from clove oil, lignen from paper factories, and in the 1980’s synthetic vanilla began to be produced from a petrochemical derivative (and this continues to be the main source of synthetic vanilla today!). Today, 85% of all vanilla sold, is synthetic – what we all know as vanilla essence!
If you prefer to keep to a natural diet, only use vanilla extract or paste available from high end shops.
Interestingly, blind tests conducted, showed that most people cannot detect the difference between natural and synthetic vanilla in baked goods. These days, natural vanilla is only used in high end ice-cream and baked goods, and is still the gold standard for use in iconic Crème Brulee.
The earliest known recipe for Crème Brulee is from a 1691 recipe book by François Massialot – a chef at the Palace of Versailles. Legend suggests that Massialot heated the sugar on top of this decadent dessert by placing a very hot metal iron on it to melt and ‘burn’ the sugar.
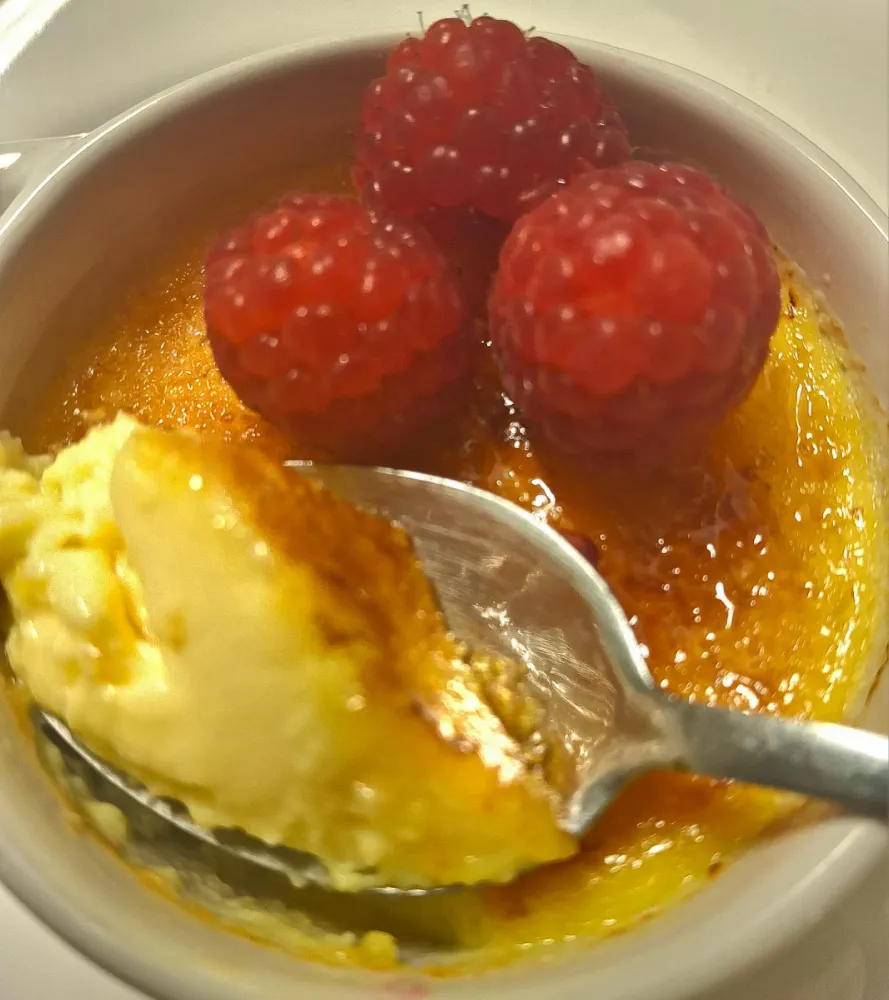
Brulee regained popularity in the 1980’s when La Cirque Restaurant in New York showcased it on their menu, and it remains a popular dessert today. Our free recipe this month is for iconic Crème Brulee (simplified for the home chef) – a dreamily creamy, baked vanilla custard dessert topped with crunchy burnt sugar. Just thinking about it makes my mouth water!
Easy Vanilla Crème Brulée
Ridiculously easy, creamy and delicious, oven baked dessert.
Ingredients:
- 6 egg yolks
- 500 ml whipping cream
- 100 g granulated white sugar
- 7,5 ml real vanilla extract/paste (or the seeds scraped from one vanilla pod)
- Pinch of salt
Topping
Approx 6 tablespoons sugar – one for the top of each ramekin
Equipment needed:
Medium heatproof mixing bowl
Medium pot
6 – 8 ramekins
Large, 3 – 4 cm deep baking pan/casserole dish plus boiling water
Method:
- Place the egg yolks and sugar in a heatproof mixing bowl and beat lightly with a fork.
- In a medium pot, mix the cream and vanilla essence and heat until mixture reaches 80⁰ C (also known as scalding temperature – steam rises from the mixture and small bubbles start to form around the sides of the pot – it must NOT boil).
- Pour a little of this hot mixture into the beaten yolks and mix well (this is known as tempering).
- Pour the egg yolk mixture back into the pot and mix well.
- Pour the mixture through a sieve, into 6 – 8 ramekins – fill each ramekin to ¾ full.
- Place ramekins carefully onto the large, flat, deep sided baking pan/dish.
- Place the baking pan/dish into the oven and carefully pour in boiling water until it reaches half way up the ramekins (called a water bath). Close the oven door
- Bake at 180ᵒ C for about 25 to 30 minutes.
- The Brulee’s are done when they still wobble a little in the centre when pan/dish is jiggled. Remove from oven, dry ramekins and allow to cool.
- Place in fridge to set for at least 2 hours/overnight.
- For the topping: sprinkle a little sugar onto each chilled brulee.
- Torch the tops using circular motions of a lit butane/kitchen torch until the sugar becomes deep amber in colour. Serve immediately.
If you do not have a culinary/butane torch, freeze the Brulee’s overnight, place into a large baking dish, and pack ice around the ramekins to prevent the desserts getting damaged by the heat of the grill. Grill on the highest setting, with the oven door open, until the sugar begins to melt and caramelise – watch carefully that they do not burn. Remove from the oven, dry ramekins and serve immediately.
Note: Cooked Brulée can be kept for up to 4 days covered in the fridge without the caramel topping. It can also be frozen in an airtight container for up to 2 months. Add sugar and caramelise just before serving.